At the University here we get this fantastic thing called "Reading Week." Basically, it's the equivalent to Thanksgiving Break in America. The unfortunate thing is everyone doesn't get the same week off... who's idea was that?
My friend Renee had the week before me off. But my class schedule is pretty fantastic and I would only have to miss one of my (two) modules for the week. I sat down with the tutor and she said GO!
So, we went.
And I'm so glad I got out of Wales. Not that I don't like Wales. Wales is beautiful but I had forgotten how small Aberystwyth is; it's the perfect starting point for and adventure.
Dublin was beautiful but the funny thing is our planning. Once we decided to travel, everything got crazy. I had an essay due just after I returned so I was scrambling around collecting sources; we were booking flights; and I was experiencing the new phenomenon of balancing the groceries to not run out too soon and not waste anything. We wound up booking ourselves to fly into Dublin late on Halloween - that's probably why the ticket was so cheap!
We were met by hoards of zombies in the street... friendly, tipsy, Irish zombies.
AFTER we arrived safely at our hostel, we had a good laugh about our planning skills. Honestly everyone in Ireland was very kind and some costumed folks helped us find the Luas. Live and Learn.
The next morning we hit the streets
(this time we were the zombies with five hours of sleep).
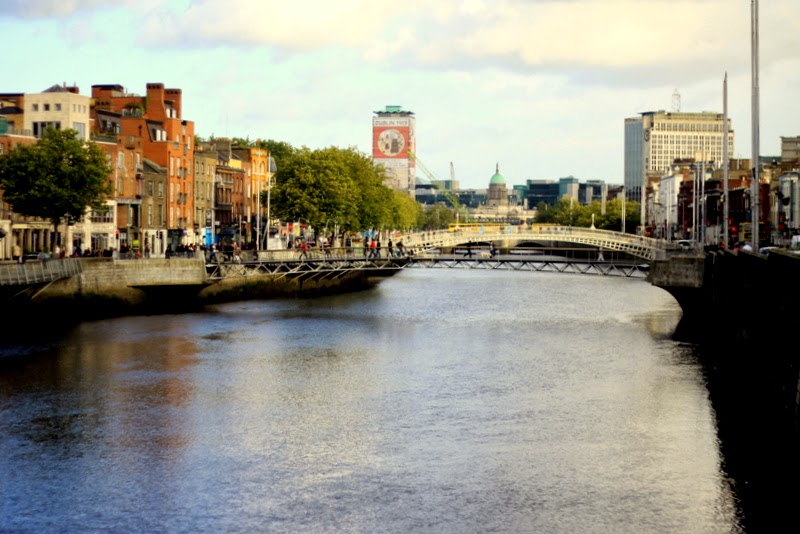
We had no strategy. We walked South, after buying croissants and stopping for coffee at a little newspaper stand/shop. We crossed the river Liffey and took in the view.
I count 15 bridges crossing the River Liffey on my little touristy map - there's probably even more. You could make a day of visiting all the bridges and we should have but we took like nomads to the city. Without much plan we simply followed the church towers and chimneys.
Dublin is a strange mash-up of old and new. It's got an urban edge in the midst of historical buildings and my personal favorite, cathedrals. My city pictures didn't turn out fantastic. It started raining and there were always crowds blocking the view. But you can get an idea.
Temple Bar is apparently a famous part of Dublin. The whole area is now named after the original bar. We popped in momentarily but it was hugely crowded. I heard an interesting rumor that the name, Temple Bar, came about because originally Jews were barred from entering.
Instead we found a little Irish restaurant a few doors down and tried some Guinness Stew and Irish Coffee, which was perfect after a day of walking in the misting rain.
This fantastic example of neoclassical architecture is the Four Courts, but now it only houses three courts: Supreme Court, High Court and the Dublin Circuit Court. Formerly the Central Criminal court was also housed here. Basically it was on our way to everywhere. I love navigating European cities by landmarks. If we got lost we could always ask for the Four Courts, or Jamesons Distillery, or St. Patrick's and wander our way home.
One day in Dublin was clear and one was overcast and misty. I love the clear sky but it was cold!

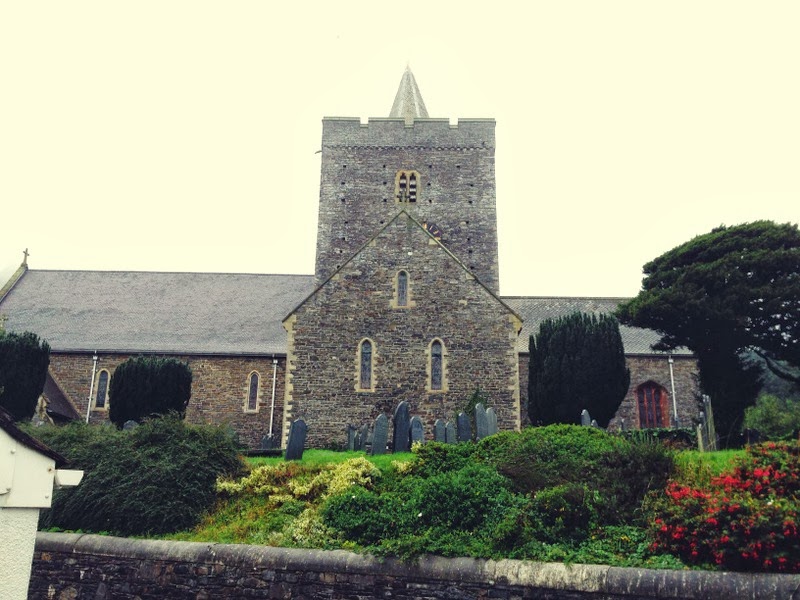
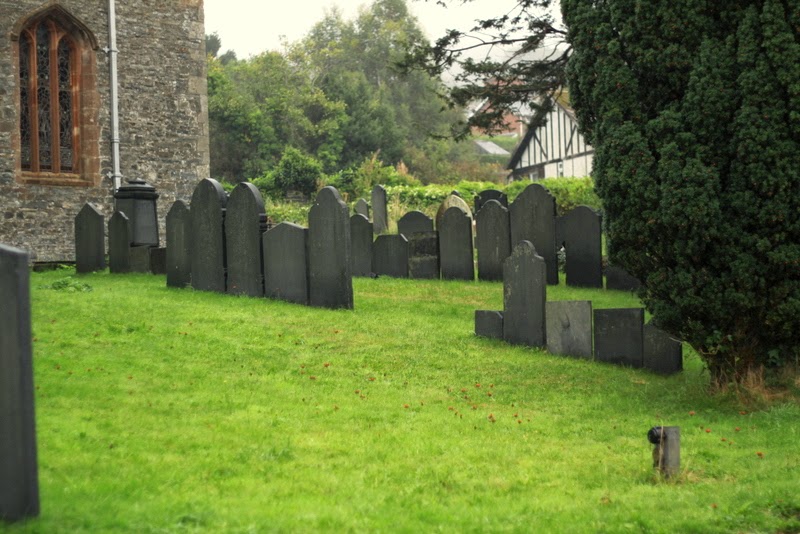
Next up Cathedrals, Holy Trinity, Edinburgh, Cardiff and New Quay!
Who's behind on blogging?
Almost daily photos posting at Community of Three.